3.3. Scripting Workspace
Blender has a dedicated workspace “Scripting” with 7 windows (areas): the Text Editor (middle area), the Info editor (left bottom), the Python console (left middle) and the 3D Viewport (left top). At the right you find the Properties window (bottom) and two versions of the outliner (top); see fig. 1.
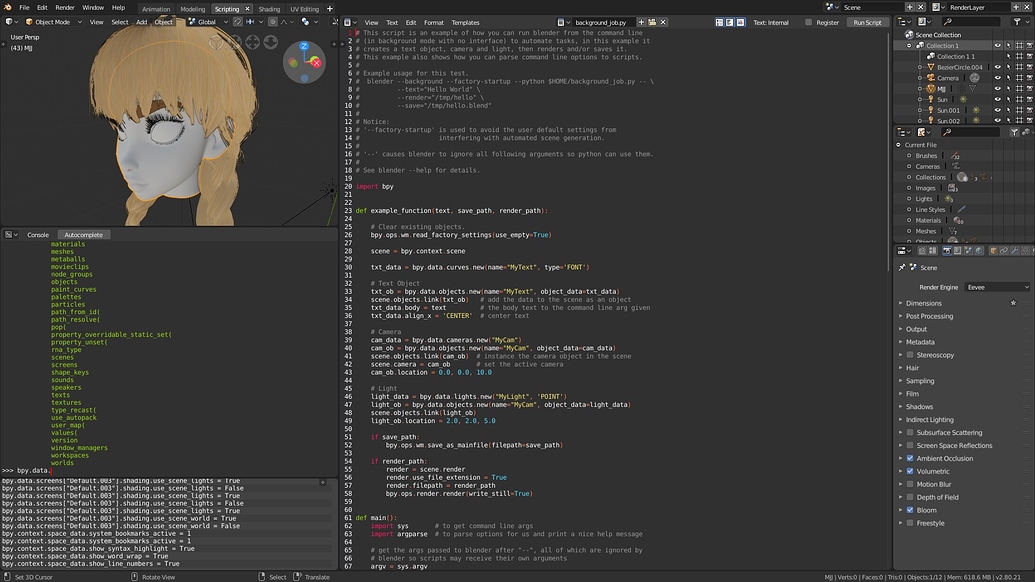
Figure 1: The scripting workspace (2.92 in 2021).
You can use the built-in text editor to write and test your code. But there are, of course numerous other code editors on the market such as Microsoft Visual Studio Code (VS Code), Atom, Sublime, … and complete integrated code environments (IDE) such as Microsoft Visual Studio (not to be confused with VS Code), Eclipse, Pycharm, …
There are also numerous addons for the Script Editor.
TintwoTin has integrated a few free addons into a script editor template.
Blender Sensei has developed a very advanced but paid improvement of the script editor.
3.3.1. How to use the script editor efficiently?
Note
In Blender, keystrokes are sent to the window where the mouse is over. This works very well in, for example, the 3D view but is contra-productive in the Scripting workspace. Each time I want to type something in the Python console, the mouse should be hoovering above that window. A click is not necessary or sufficient as in a standard GUI program.
3.3.1.1. Layout the workspace
To minimize the above mentioned annoyance, I should rearrange the scripting workspace into two main windows (see fig 1). At the left is the editor for which you are writing code (for example the sequence editor). At the right is the text editor. If that isn’t still enough space, you can always go full screen with Ctrl-Tab or Alt-Shift-Tab.
At first sight, you loose a few handy editors within hand reach, in particular the Python console. But for my taste, that area are too small in the default workspace. Besides, it’s very easy to replace one of the big windows with another editor. The shortcut Shift-F4 replaces the window with the Python console. To return to the code editor, use Shift-F11. That way, you can keep the mouse cursor most of the time above the text editor (who will receive the keystrokes). For faster coding, it is best to keep the hands as much as possible on the keyboard.
3.3.1.2. Use the Python console
Why would you need the Python console? Among other things (you can use it as a calculator for instance), it is a very handy tool to try things out. What again was the instruction to place the playhead at a certain frame in the Video Sequence Editor (VSE)? Change the text editor temporarily with the Python (Shift-F4), start typing: bpy.context. … In case of doubt, press Tab to get a list of possible command (code completion). This is also one of the reasons why you need a large window; the code completion list can be quite long. You can’t select one of the options, but you can type further and press tab to narrow down the list until you’ve got the actual keyword.
Note
Unfortunately the copy/paste and selection functions of the Python console are rather limited. Selection can only be done with the mouse (but see above). The shortcut Ctrl-Shift-C will copy the complete Python console buffer (the complete history; not the few commands that you see on the screen). You can clear the screen with the commands <code>import os</code> and <code>os.system(‘cls’)</code> for Windows or <code>os.system(‘clear’)</code> for Linux.
You can copy and paste complete code blocks (with for next loops, …) to the Python console to run and test, for example to inspect the value of some variables. Refrain however from using blanc lines. You can also run the complete open text editor code with the following command.
exec(compile(bpy.data.texts['Text'].as_string(), 'textblock', 'exec'))
This will run the code from the open text editor window. You can use a snippet addon to store these snippets.
3.3.1.3. Use autocompletion/intellisense
The text editor itself has autocompletion built-in but it is rather limited to the code objects from the file itself. You can install the Intellisense for Blender Text Editor addon by Mackraken and Tintwotin. This works nice albeit that you have to use a weird key combination to invoke it. Another method is presented by GDQuest which makes use of the fake bpy modules from Nutti.
You can also copy code (multiple lines) from the text editor and paste it in the Python console to execute it and to inspect some variables. Sometimes, this does not work very well (empty lines, …). An alternative is to execute the following command in the console. This will run the open text file in the editor.
The Blender Sensei version of the text editor (see above) has also a very nice autocompletion function.
`` exec(compile(bpy.data.texts[‘Text’].as_string(), ‘textblock’, ‘exec’))``
3.3.2. How to use VS Code efficiently?
There are, of course, several professional code editors on the market. Most of the time they work better, more fluently, have better support and endless extensions for the most diverse things. The only advantage of the Blender text editor is that it integrates smoothly with the other Blender modules and that running code is very easy. However, the integration of VS Code with Blender comes very closely to it. The setup is however a little more involved. Michael Bridges has created three extensive tutorials for setting up VS Code & Blender on Windows, Linux and Mac.
On finishing this tutorial, VS Code with the Python extension and the fake-module autocompletion list is installed. You can then use VS Code in two ways:
3.3.2.1. Use VS Code as a standalone editor
Write your code in VS Code, save it as a .py file, open that file in the Blender Text Editor, run it, edit it and save it again (attention: shortcut key is Alt-S). Continue in VS Code (the code is real-time updated), save it, switch to Blender text Editor, push Refresh button and continue. Of course, this doesn’t offer much advantage except you are using the VS Code editor to enter code.
3.3.2.2. Use VS Code as an integrated editor
First, you have to install the amazing Blender extension by Jaques Luke. Search in the extension library for Blender Development.
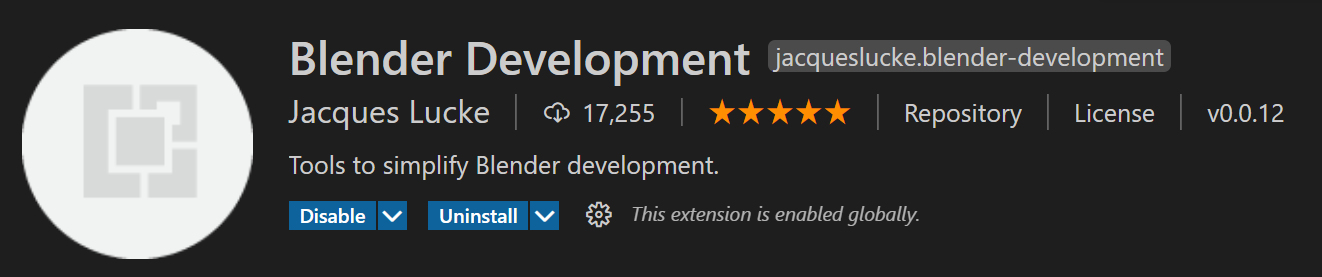
Figure 2: Blender extension for VCode.
Start an instance of Blender from within VS Code with the command (shortcut = Alt-Shift-P) and choose “Blender: Start”. This will start up Blender and move the System Console of Blender into the terminal window of VS Code. You can now access the system console in the Terminal tab. The Python console is available under the debug console tab. You can creates other instances of Blender manually but remember that this particular instance of Blender can only be managed (closed for example) from within VS Code.
You can create a new empty script with the command “Blender: New Script” or open an existing script. Edit this script within VS Code. Set the correct context (eg VIDEO SEQUENCER, VIEW_3D, …) with the command “Blender: Set Script Context” at the beginning of the script. You can run the script from within VS Code with the command “Blender: Run Script”. If everything went well, your script will be executed within the Blender environment. If there are any errors, they will be print in the System Console (Terminal) or the Python console (Debug console). 
For debugging, you can set one or more breakpoints and start the script. The script will stop at the breakpoint. There you can inspect variables, and step through the code. Another debugger is made by Alan.