2.2.2.4. Masking
Masking is a video editing technique to isolate a portion of a video image in order to apply some effect on the isolated area. The area of the strip that you want to isolate is specified by a mask. This is essentially a black-and-white image of the same size as the strip-image. The isolated area is painted in white; the area that can be ignored is painted in black.
The masking then is done by changing the alpha channel of the source-strip. In addition to its RGB color values, each pixel has an additional value within the range 0-1. If alpha=0, then the pixel is transparent, and the RGB values of the pixel contribute nothing to the pixel’s appearance; for alpha=1, the pixel is fully opaque, and the color of the pixel is fully determined by its RGB values. You can remember these values by keeping the multiplication rule in mind: multiplying the RGB-values by 1 will keep the original RGB-values. Multiplying by zero will erase all RGB values.

Figure 1: Calculation of Alpha value with mask with different regions applied to source strip
Masking multiplies the alpha value of a source-strip pixel with the smallest RGB-value of the corresponding mask pixel to get the result. So, if the mask is white (see fig 1), its RGB value is (1,1,1) and the alpha value of the corresponding result is set to 1 or fully opaque (1 x 1 = 1). If the mask is black RGB (0,0,0), the result is fully transparent because 1 x 0 = 0. The mid grey RGB(0.5,0.5,0.5) and yellow RGB(1,1,0) masks make the result partial transparent for the mid-grey because the smallest RGB value = 0.5 and fully transparent for the yellow mask because the smallest RGB value = 0. So, in figure 2, both the black and yellow regions of the mask will make the source strip transparent at that location.
2.2.2.4.1. Strip masks
Masking in the VSE is done with the help of the Mask modifier (see figure 2 and 3). Select the strip you want to mask and apply the Mask modifier.Select Strip as Mask Input Type and choose from the Mask drop-down your mask (in this case Mask-strip). Be sure to mark the mask strip as Muted (H); you don’t want to see this strip.

Figure 2: Mask modifier with strip mask
Figure 2 uses a Color strip that is cropped to the size of the isolation area. The project is set to the resolution of the source strip (Sprite Fright - Blender Open Movie - 1280 x 536). So, the added Color strip has also a resolution of 1280 x 536. It is cropped to about 960 x 230 to isolate the area of the walking characters. The result of this Mask modifier is a cut-out of the isolated area on a transparent background.
Notice that the edges of the cut-out are sharp; from fully opaque to fully transparent in one pixel. This is because the Color strip also has sharp white to black/transparent borders.
Also notice that the mask strip does not have to be of the same length as the source strip. The modifier takes care of applying the mask to the entire source strip. If you want the mask only for a specific time frame of the strip, you need cut the strip.
Also, the mask strip doesn’t have to be at the same location of the source strip. For example, you can collect all of your mask strips at the end of the timeline. Most of the time, however, you will try to locate your mask strip nearby its source strip. A strip mask can be used multiple times within the same scene. Of course, then it is not possible to keep mask and source together at the same location.

Figure 3: Arrow mask
A mask strip can be a Meta strip. You can group several Color strips (with different shapes) into a Meta strip and use this strip as mask. Figure 3 shows how you can create a simple arrow-shape, out of 5 Color strips. A white background is used; so that the arrow can be used as a mask.
Masks don’t need to be a black-and-white image. You can use whatever color, although in practice only grey-scale shades are used. To create a feather-effect, you need a gradient grey-scale border that goes from white to black. The more steps you have in the gradient, the smoother the feather. Behind the scenes, Blender takes smallest value of the RGB-triple and applies this value as a factor to the alpha channel of the source strip.
At last, the mask-image does not need to be static image. You can use whatever Movie strip as a mask.
2.2.2.4.2. Data-block masks
Blender needs to know which area of a strip you want to isolate. You can specify this area by another strip (see above) or by creating a description of the mask in another editor. Masks can be created in the Image and Movie Clip editors, by changing the Editing Context to Mask in the header (see figure 4. This will add various tools and properties to the editor panels, while hiding others that are not needed for interacting with masks.

Figure 4: Mask modifier with data-block mask
The Image Editor is a good choice for a static mask. In figure 4, the original File Browser window from the Video Editing workspace is replaced with the Image Editor. To have a reference image, you can first render the source strip (without mask) and use this Render Result in the Image Editor (click on the Browse Image to be linked button in the middle of the header to select the Render Result).
Use the menu Add or Shft - A to add a Circle or Square mask. This small mask is added at the location of the 2D-cursor; usually at the bottom-left corner of the image (location 0.0). You can change the location of the 2D-cursor with the shortcut Shft - RMB or with the sidebar > View > 2D Cursor. The top-right location is at (1.1). You can add custom masks by Ctrl - LMB in the image. Ctrl - LMB and drag will create a kind of Bezier handle to the curve. To add a feather effect, use the shortcut Alt-S and drag. Depending on the direction of the mask (menu Mask > Switch Direction) the feathering border (green line) is drawn inside or outside of the mask. The distance between the feathering border and the mask will control the smoothness of the transition between opaque and transparent.
The mask can be named in the Browse Mask to be linked box (middle of header) and also appears as a data-block in the Outliner (Blend File display mode). You can use this mask multiple times within the same scene but also between scenes.
Sometimes you need a mask that changes location or shape; e.g. when blurring a moving car license plate. Creating such a dynamic mask can best be done in the Movie Clip Editor. Change the workspace to the VFX > Masks workspace and open the source clip. You cannot add a Scene strip or the render result of the VSE. In that case, you should render the scene first. More information about creating and editing masks can be found in the Motion Tracking & Masking section of the docs.
Todo
Add some more info to this section or refer to other docs
2.2.2.4.3. Some examples
Masking is used in almost every video project, for example
to cut out a part of a strip with some basic shapes as square, circle, arrow or more advanced such as letter masks.
to blur a specific area of a strip,; e.g. faces or license plates.
to color grade some area of a strip while leaving alone the rest, e.g. darken the sky.
to create new images, for example in combination with green screens.
to create a custom transition between strips; e.g. diagonal sweep.
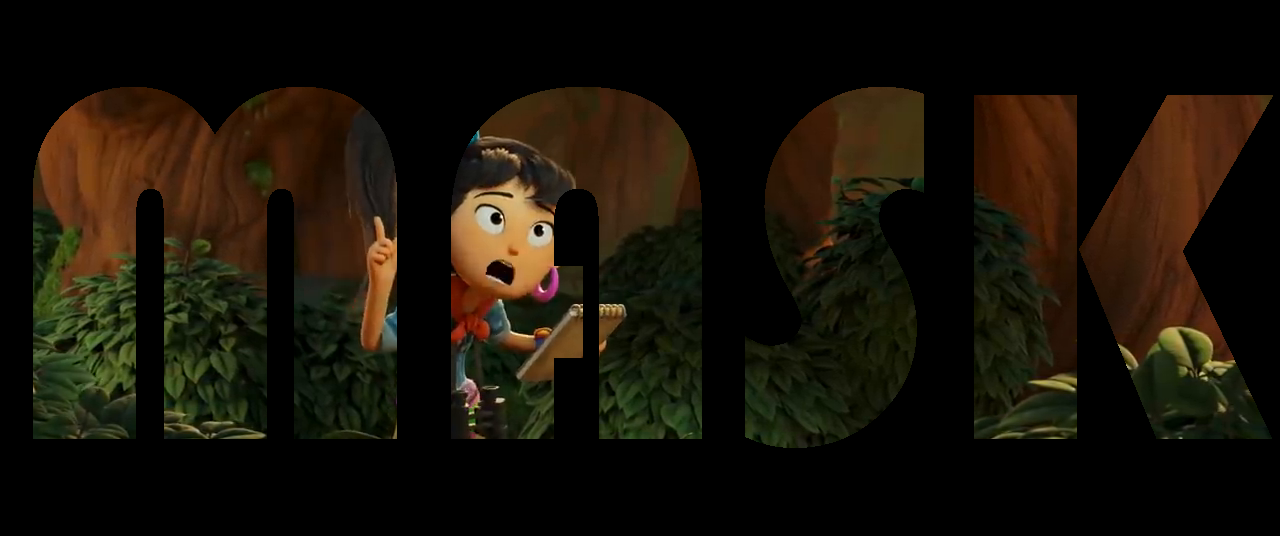
Figure 6: Cut out with letter mask
For the letter mask of figure 6, you need to add a Text strip with white color. Select the movie clip, add a Mask modifier and choose the above text strip as mask. Don’t forget to mute the mask strip.
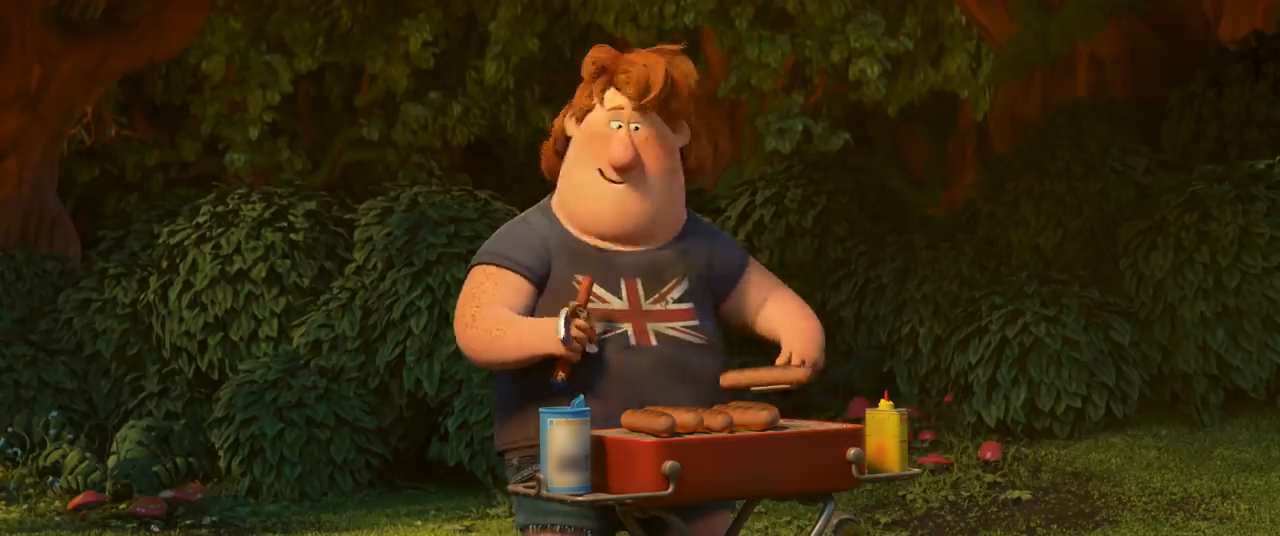
Figure 7: Blur mask
For the blur-effect, you need three strips and a mask. The first strip is the original movie, the second strip is a copy of the first, but with a cut-out mask applied. In the example of figure 7, the text of both boxes are masked out. An effects > Gaussian blur strip is added on top of this channel. The size of the blur should be adapted.
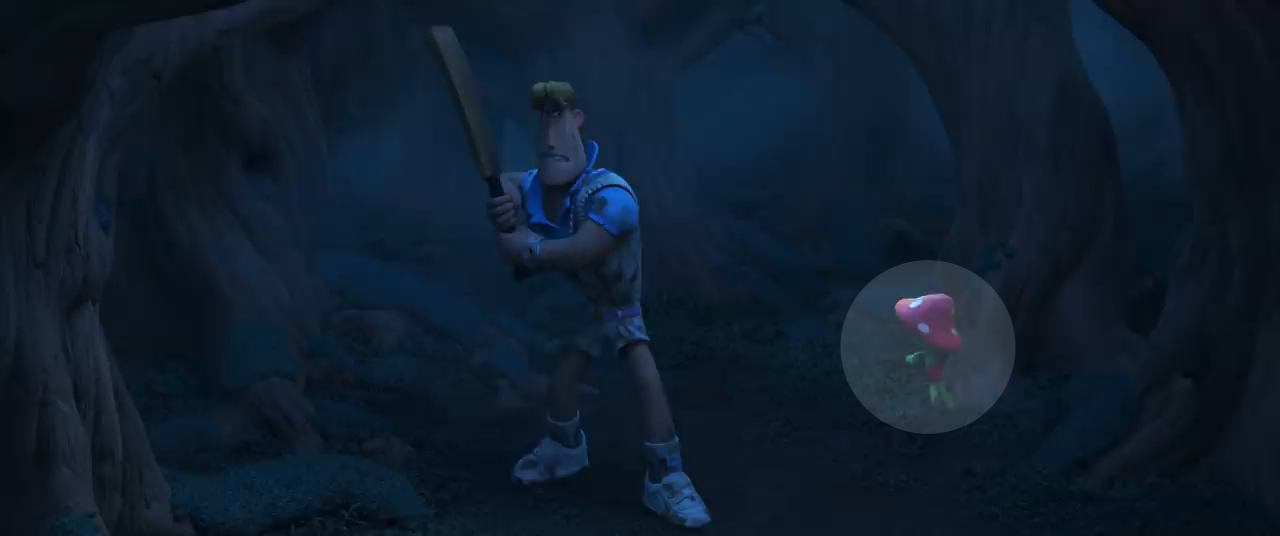
Figure 8: Color grade mask
In figure 8, a circular area is isolated in order to brighten it. You need a circular mask and the Brightness/Contrast modifier. Apply the modifier to the source strip and select the appropriate mask.
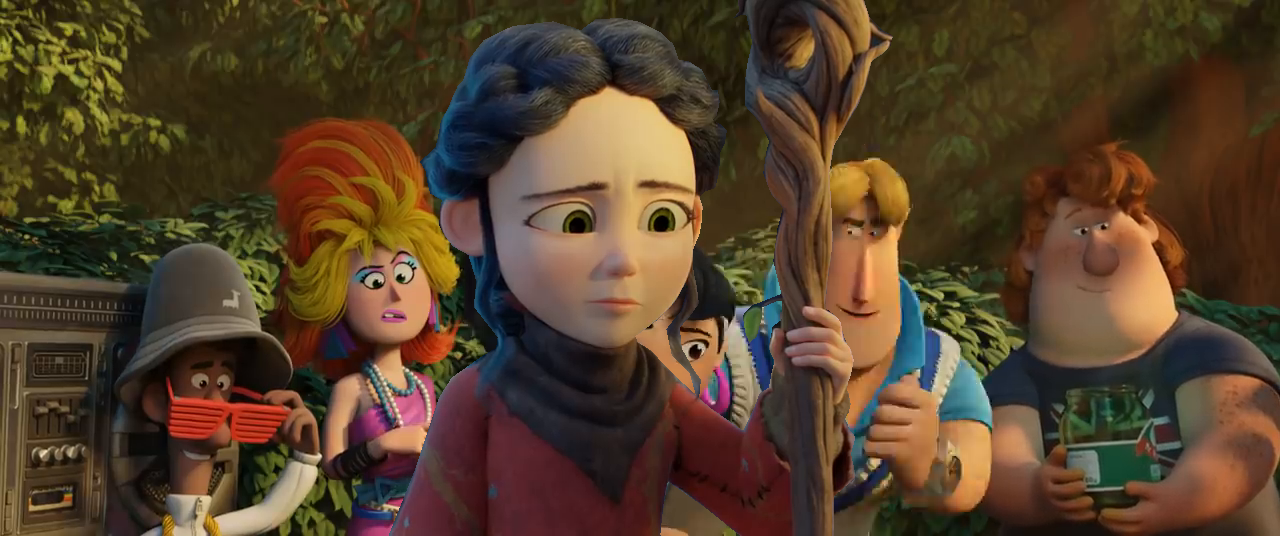
Figure 9: Rotoscoping/green screen maskColor grade mask
To create this rotoscoping/green screen mask, you need two movies (one preferably shot before a green screen). Create a mask on the greenscreen movie; this will become the fore ground. In the example in figure 9, the character Spring has been masked out. Apply the mask and put the strip above the background movie (in the example Sprite Fright). Don’t forget to change the blend mode of the greenscreen strip to Overdrop.
To create some nice transitions and VFX effects, you can follow the excellent tutorial series by Blender Frenzy.